Window head and sill leak patterns in Sydney apartments
Water staining beside an apartment window usually enters at the head or the sill, not the glass. Here's how window leaks track in Sydney apartments and what the rectification addresses.
A Chatswood apartment shows water staining on the wall beside a window after heavy rain. The owner blames the window seal and books a glazier. The glazier finds nothing wrong with the glass or the frame, because the water is not coming through the window. It is coming in around it, at the head above or the sill below, and tracking down inside the wall to surface beside the frame. Window leaks in Sydney apartments follow a few clear patterns, and almost none of them are about the glass.
The window is rarely the leak. The junction between the window and the wall almost always is.
Why the water comes in around the window
A window is an opening cut into the building envelope, and the envelope has to be made watertight around it. That means the head, the sill, the jambs, and the way the wall construction, render, sealant, flashing, terminates against the frame. Each of these is a detail that can fail, and when it does, the water enters around the window and tracks down inside the wall.
Because the water travels inside the wall before it surfaces, the stain appears below and to the side of the actual entry, which is why the diagnosis points at the window when the cause is a head or sill detail a course or two above. This is the same track-then-surface behaviour that misleads on balconies, applied to the facade.
Pattern 1: the window head
The head is the top of the window. Water running down the facade above the window has to be directed out and away from the frame, normally by a flashing or a properly detailed head condition that sheds the water clear. Where the head flashing is missing, was never installed, or has failed, water running down the wall reaches the top of the frame, gets behind it, and tracks down inside. Head leaks typically show as staining at the top corners of the window inside, spreading down.
Pattern 2: the sill
The sill is the bottom of the window, and it should be designed to collect any water that reaches it and drain it back out, with a fall to the outside and weep paths. Where the sill detail is flat, or back-falls toward the inside, or the sealant at the sill has failed, water pools at the sill and finds its way in under the frame. Sill leaks show as staining at the base of the window and on the wall below.
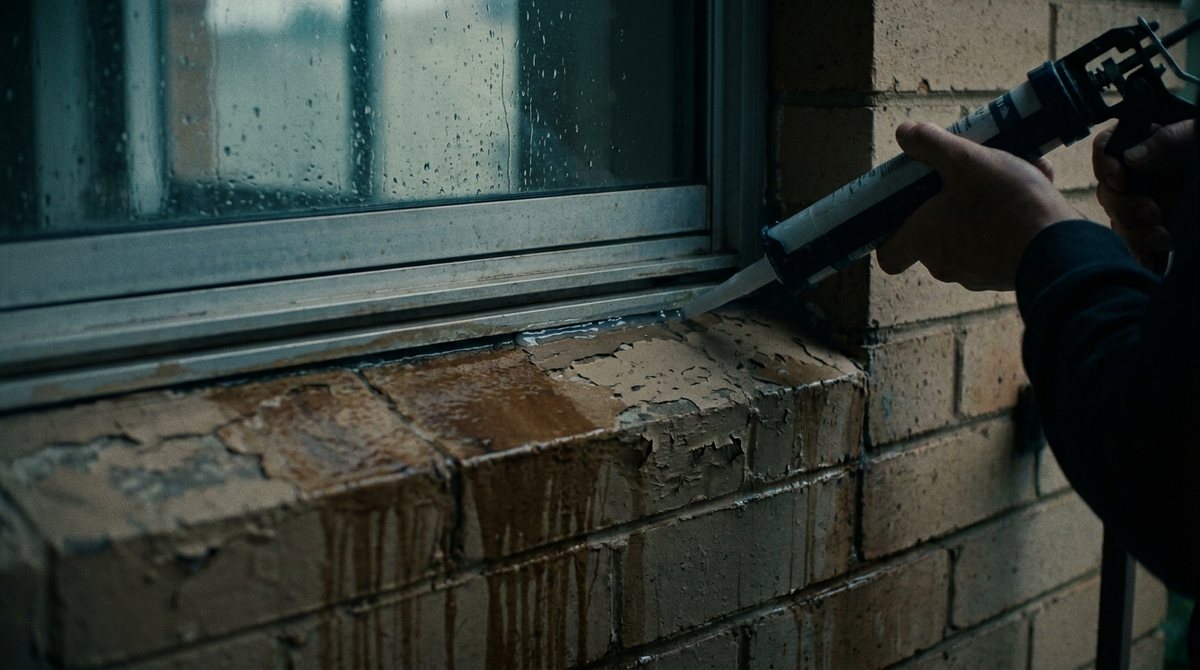
Pattern 3: the perimeter sealant
The sealant joint around the window frame, where the frame meets the facade, is a movement joint like any other, and it has a service life. As it ages and the building cycles, the sealant hardens and pulls away from the frame or the facade, opening a path for water. This is where the class 25 sealant logic applies, the perimeter joint moves, and a low-class or aged sealant tears and lets water past. A re-seal of the perimeter is often part of a window leak rectification, done properly, raked out and replaced with a backing rod and the right class of sealant, not caulked over.
What the rectification addresses
Because the leak is at the junction, not the glass, the rectification works on the head, sill, jambs, and perimeter, not the window unit. That means establishing why the water is getting in, missing or failed head flashing, a flat or back-falling sill, failed perimeter sealant, or a combination, and correcting each. The head gets a flashing or a corrected head detail to shed water clear. The sill gets the fall and the weep paths re-established. The perimeter gets a proper re-seal to the right movement class.
Where the water has been tracking inside the wall for a while, the wall lining and any corroded fixings or wall ties behind it may also need attention. The window itself, if it is sound, stays. Replacing a perfectly good window does not fix a head flashing that was never there.
What to do next
- On water staining beside a window, suspect the head, the sill, or the perimeter, not the glass. The window is rarely the leak.
- Note where the stain starts, top corners point to the head, base points to the sill. The pattern locates the entry.
- Expect a perimeter re-seal to the right sealant class as part of the fix, not a caulk-over.
- Do not replace a sound window to chase a junction leak. Fix the detail the water is using.
How Supcon handles this
Thomas diagnoses the window leak to the junction, head, sill, jamb, or perimeter, by reading where the stain starts and confirming the entry. The rectification corrects the actual detail, a head flashing to shed water clear, a re-established sill fall and weep paths, a proper perimeter re-seal to the right movement class, and addresses any wall lining or fixings the tracking water has affected.
The junction is the leak, so the junction is the fix. See AS 3740 wet area compliance for the internal-water counterpart, and the leaking bathroom and window rectification service page for the technical detail.
Get a remedial scope. Send through the issue.